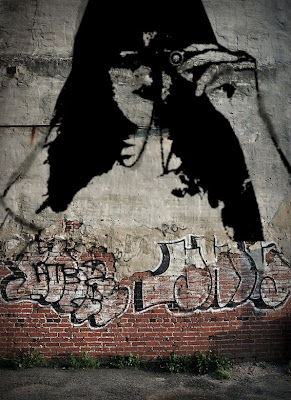
Graffiti Photoshop Tutorial
These are the original images:
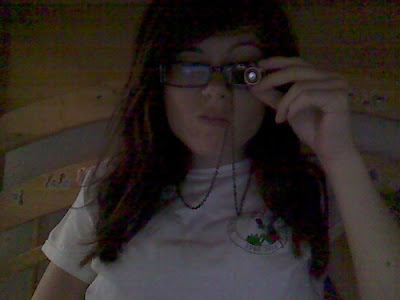
![](https://blogger.googleusercontent.com/img/b/R29vZ2xl/AVvXsEi4mu0ytZzP7p7D2nN4hXHAssizayyGZpc4VENw3FeE_bFJAKFu2FlMDqHhtjTRNiZul07nT42p-YHQ6mydtRt7QmCPDrG2HuSCYhlwP_C7OFKVQWHx5wpvabArsWkbzWINyrD1JYKk4uU/s400/tumblr_l1tnkdkxKn1qbsmxpo1_500.jpg)
This is the end product:
![](https://blogger.googleusercontent.com/img/b/R29vZ2xl/AVvXsEjl4YGnkNORaByY1FDT-vV6Yf10Umk2-qImUFkj5enkWItSARNcIGDZ_otuL-XjZS53jnX-ASdZNhuUnPRuKPHIPTg-FE5GjDBAvpsRhDbImIaxBKH2aF8oH62xLioa9SphUcOmvvJvp94/s400/apey+graff.jpg)
Basically I just took an image I wanted to "graffiti" onto a wall, made it into a stencil by altering the image threshold, played around with dissolving and blurring bits and pieces to make it more realistic then placed it onto the wall photo I chose.
No comments:
Post a Comment